Your cakes are beautiful and delicious but when you post photos on social media they don't look so gorgeous and yummy? Improve your cake photography by following these tips.
1.Use Natural light!
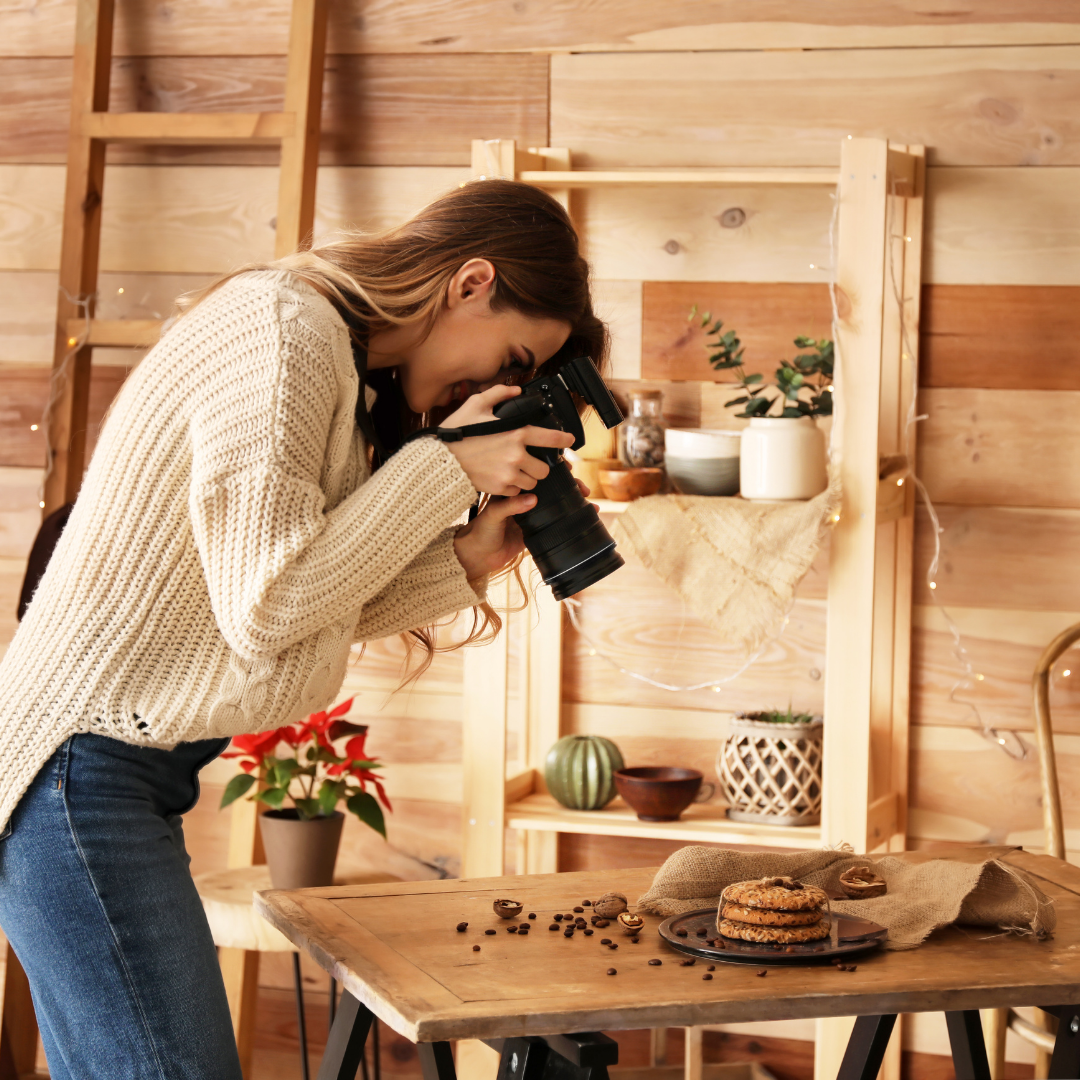
Most professional food photographers work with artificial light, but it can be quite complex and requires expensive gear. If you are new to photographing food, using natural light is your best alternative.
Find a room with abundant light, open the blinds and let that sun shine in. However, direct sunlight creates hard dark shadows and bright highlights to soften those, you need to diffuse the light. A professional diffuser, translucent material or a curtain will do the job,
You also need to work with the light in the right direction!
Lighting coming from the front looks soft and beautiful for some photos like portraits but when it comes to food (cake) photography, it is the least appealing light direction to work with. It tends to create a shadow on your cake and can cause the image to look flat and dull.
You nee to use side lighting, ideally for the left! If you check out stunning food pictures, you see that the light doesn’t look the same through the whole frame. That’s what you should aim for.
Extra tips: Don't use Flash and turn off your room lights, this can alter your white balance.
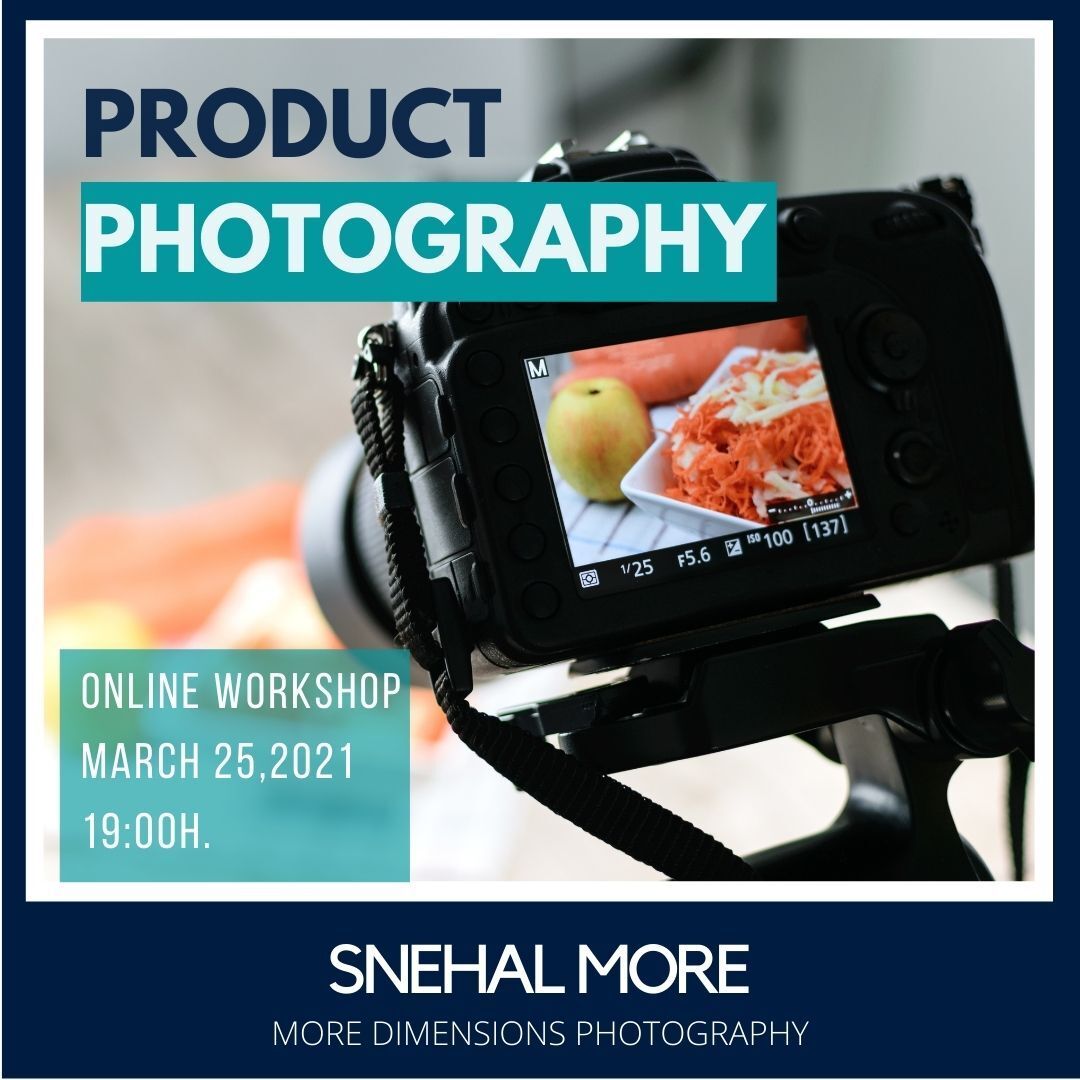
Having good pictures of your cakes or any other product is crucial, specially if you sell your products online. If you want to learn more and have the opportunity to ask questions, join our next product
photography workshop by Snehal More, professional photographer who has worked with many small entrepreneurs and big brands such as Uber eats and Deliveroo.
2. Declutter the background and surroundings
Too many objects in the picture and suddenly you don't know where to look? or you have distracting objects in the background?
If you’re photographing your cake on your kitchen table, you can place a large piece of poster board behind it as a backdrop. You can buy backdrops, or boards in a nice color or create your own with fabric or beautiful papers.
Your cake is the hero!! You can use some props and ingredientes to surround your hero to tell the story of your cake or your brand. These props should be carefully placed and the well-thought. Just throwing sprinkles here and there will not make your picture look great.
3. Avoid color casts
A color cast is a tint of a particular color which can affect part of your image.It is produced when light reflects off various surfaces, such us the walls or your clothes.
If your kitchen has blue walls, your picture will have some blue casts, or if you are wearing a green shirt while taking the photos, your image will have an unwanted green tint on it.
How to avoid this?
Watch out for surfaces that can reflect light and color back onto your setup. Keep your surroundings as neutral as possible and wear light, neutral colors when you take the pictures. If you have those unwanted tints you can still adjust the colors in post-edition
4. Choose the best angle
The camera angles you use will have just as much impact on your photo as the rest of your food styling, The best angle is always the one that brings out the qualities of your product, what might work very well for one photo or product, won’t get you the best results for another.
The 3 main angles that work well in food photography are straight on, 25° – 75° and top down. In general,frosted cakes with la
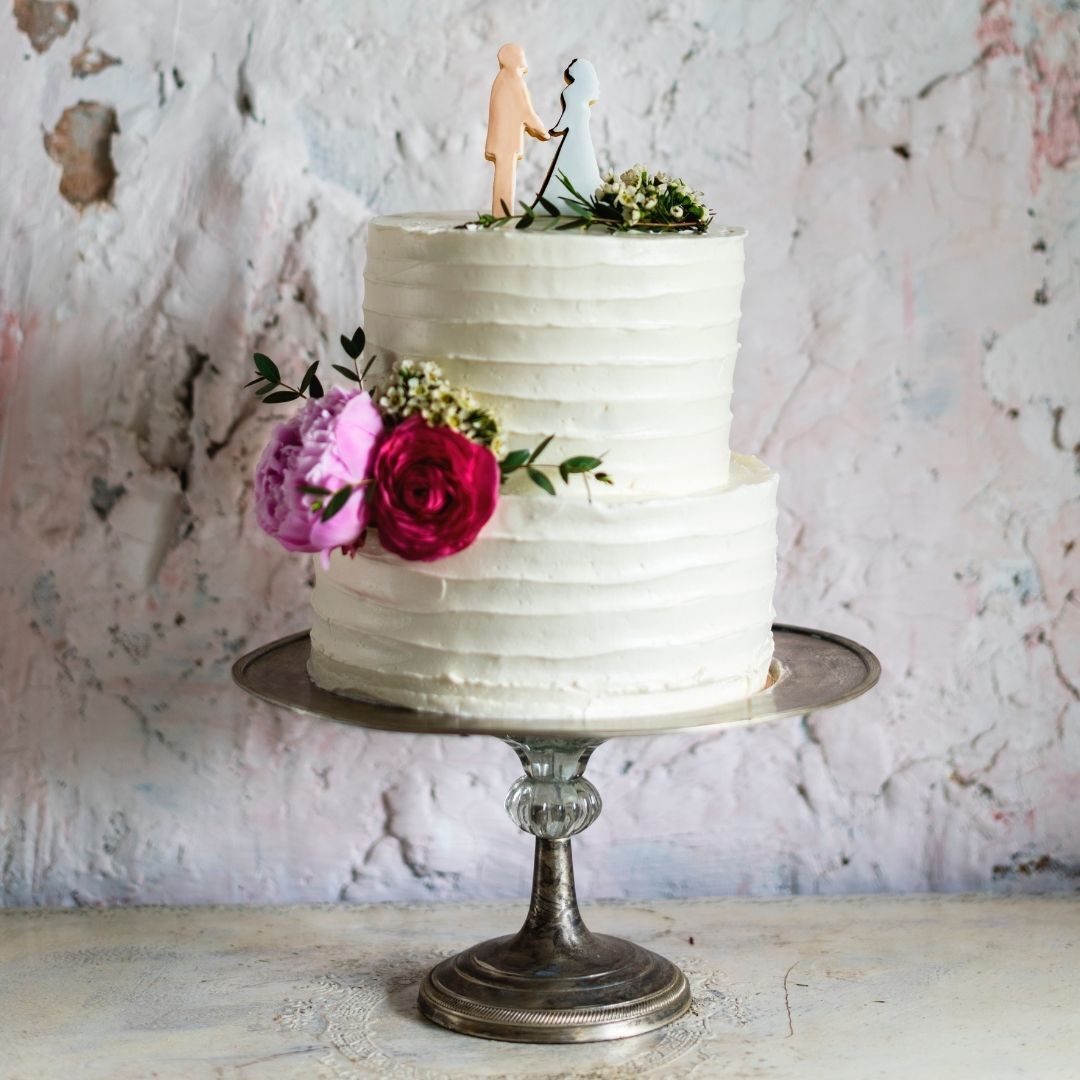
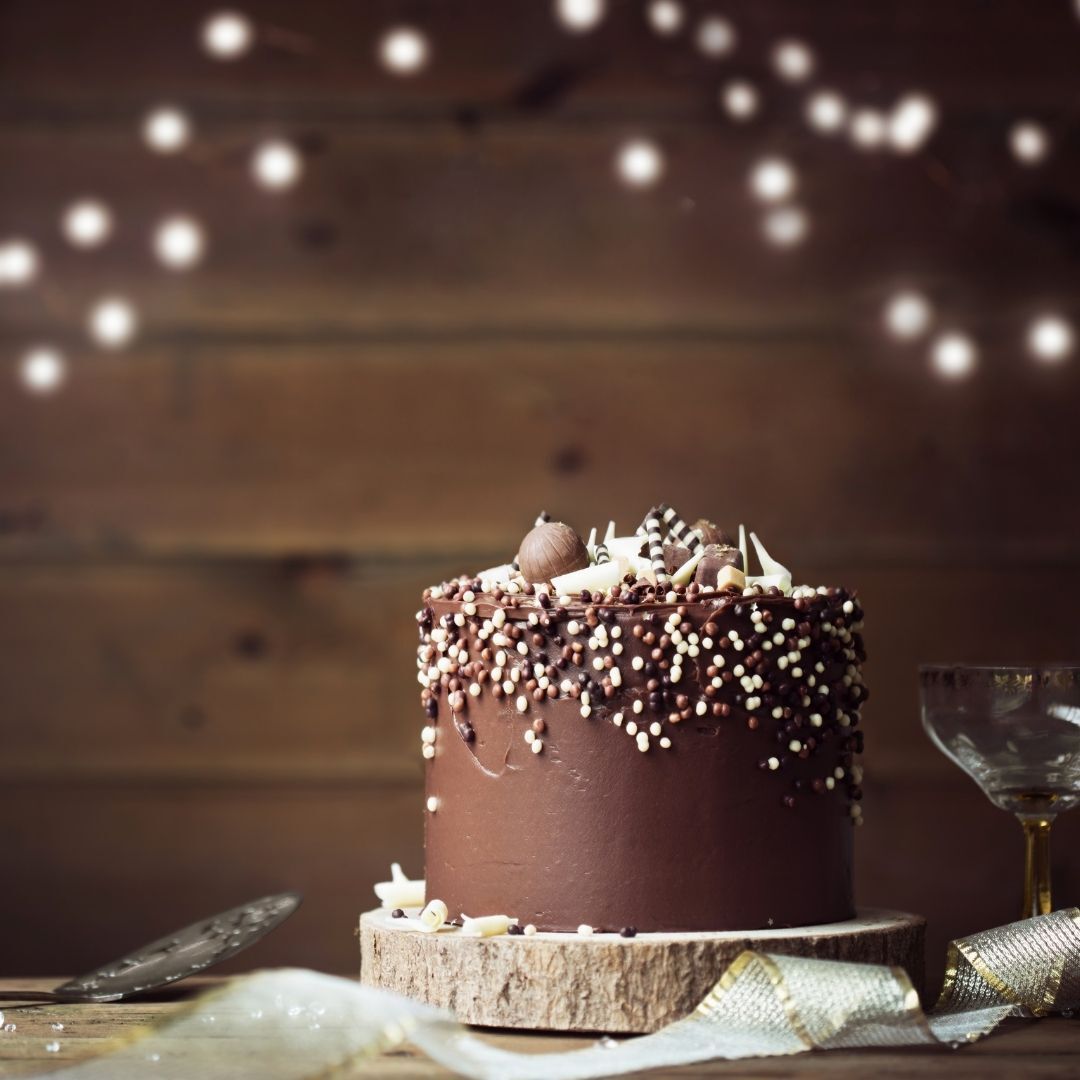
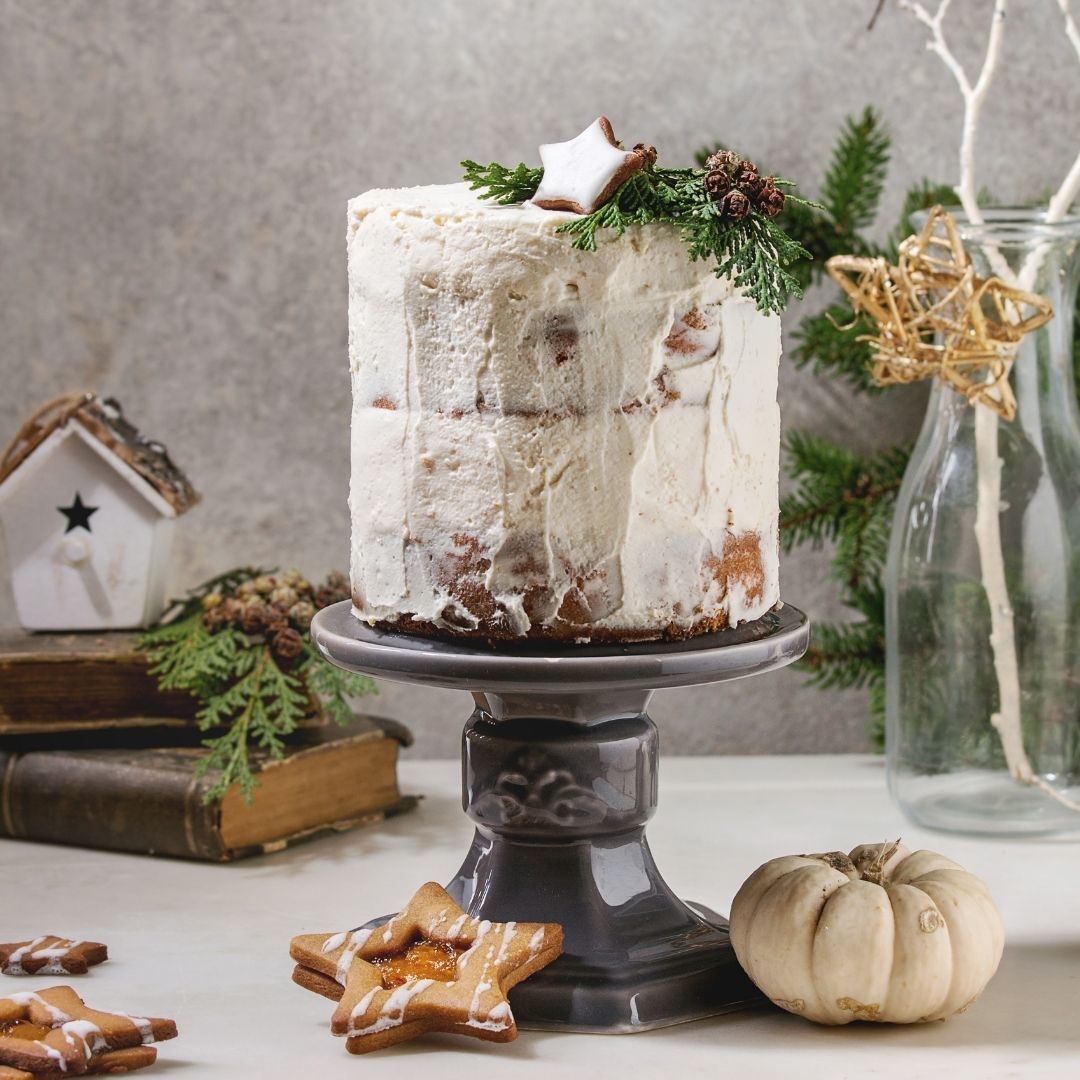
The straight on angle, is great for frosted cakes with layers. This angle also allows you to utilize the background to add additional props and objects.
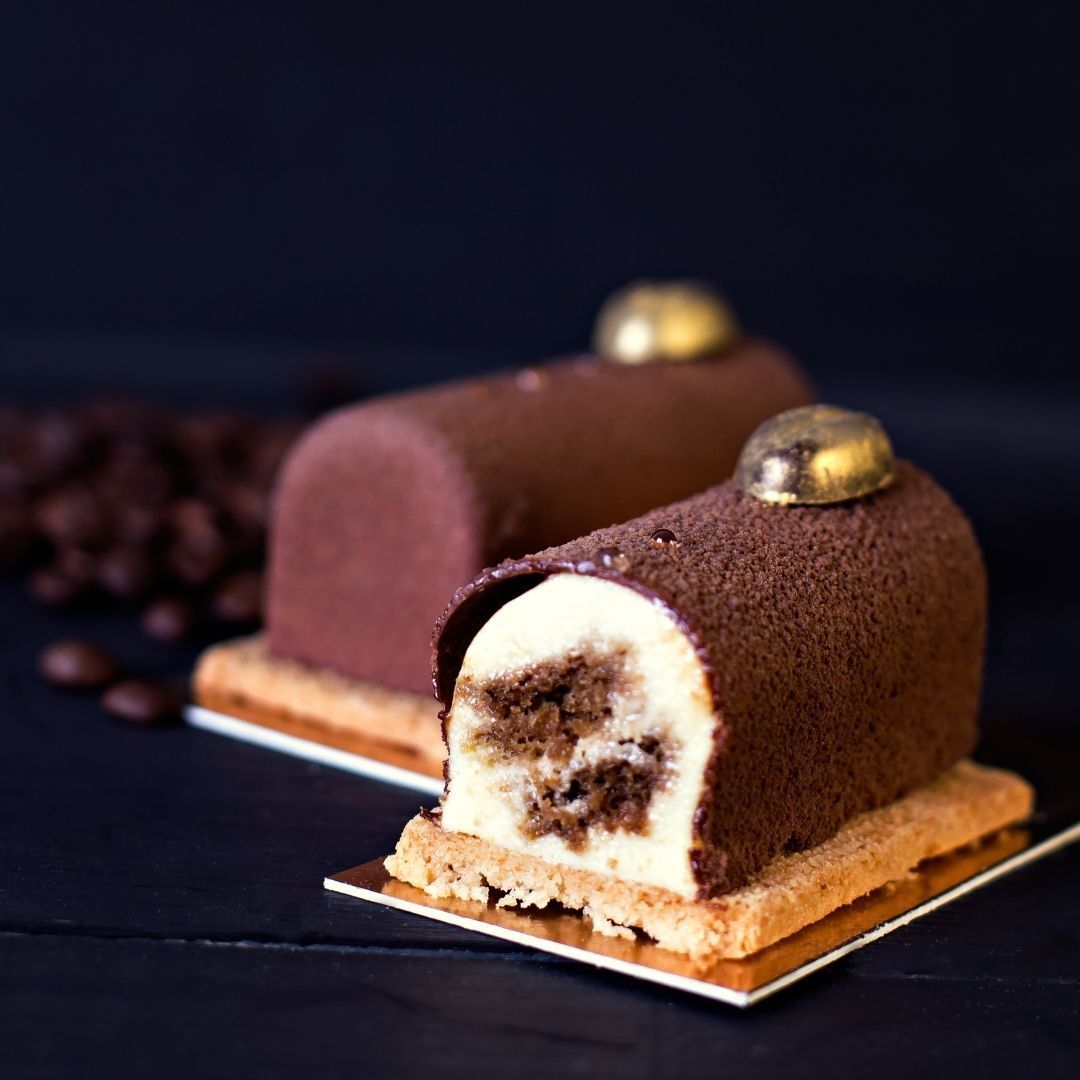
For cakes with details on the side, shoot with an angle, 45° can work great to show those details.
The top down angle doesn't work so well for high cakes, cakes with decoration on the sides but it works if you want to focus on the top of the cake or if you want to tell a story because flat lay shots allow you to add elements to the picture.
5. Styling!
Before startint to take pictures, you need to plan the photo shoot.
Think about which story you want to tell, what is the goal of the photo and then select the props, background and backdrop that supports that story.
Use different techniques such as grouping, curves, layers and the rule of thirds to create a composition that highlights your product.
Curves can create a sense of movement and definition, odd numbers in photography make your brain and eyes wander and so this adds interest to an image.
If you want to learn more how to make your cakes stand out you can join our next online workshop:
Product styling for photography, on March 31st!
Join these workshops to improve your product photography:
City skyline
Photo By: John Doe
Button
Birthday Sparks
Photo By: John Doe


